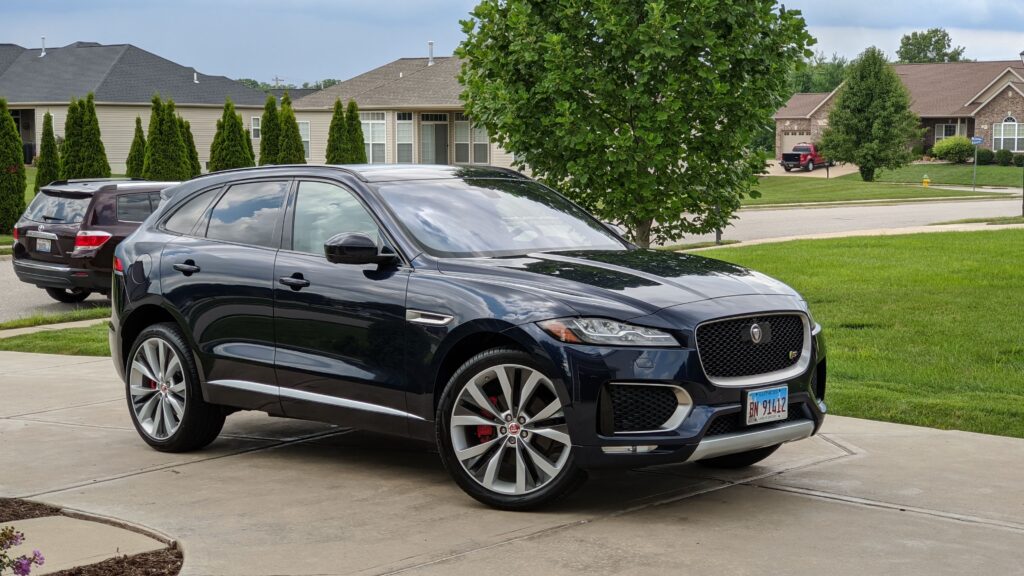
This exterior detail job on a 2019 Jaguar F-Pace S is an addition to a series of detailing articles starting with my car and most recently, my neighbor’s 2017 Porsche Cayenne S.
I’ve always had a thing for blue vehicles but I’ve never managed to own one due to the right combination of performance options and color never quite works out in my favor. For now I get to admire my neighbor’s Loire Blue Jaguar F-Pace every time it drives by. The F-Pace is easily one of the best looking SUV’s on the road today and the color is stunning. When the conversation which started with the 2017 Porsche Cayenne S moved on to the possibility of applying a ceramic coating to the Jag, I happily jumped at the opportunity and offered to detail it as well.
This detailing article be much shorter because the vehicle required far less work. This Jag is lovingly pampered and well cared for since it was new. Also, there really is little to discuss regarding products since I’m not using anything new.
Starting Condition
This Jaguar was in great shape when I pulled it up in the driveway to start work. A few very light swirls were visible in the bright sun, but it is obvious the owner tries to keep the paint in the best possible shape. The focus of this job is really to improve the shine versus trying to correct any damage.
Step 1: Cleaning
The only reason a ceramic coating job is successful this time of year is due to a brief period of unseasonably cool temperatures. The cool temperatures bring lots of rain and after nearly five straight days of rain a daily driven vehicle like this Jag has plenty of grime and road spray.
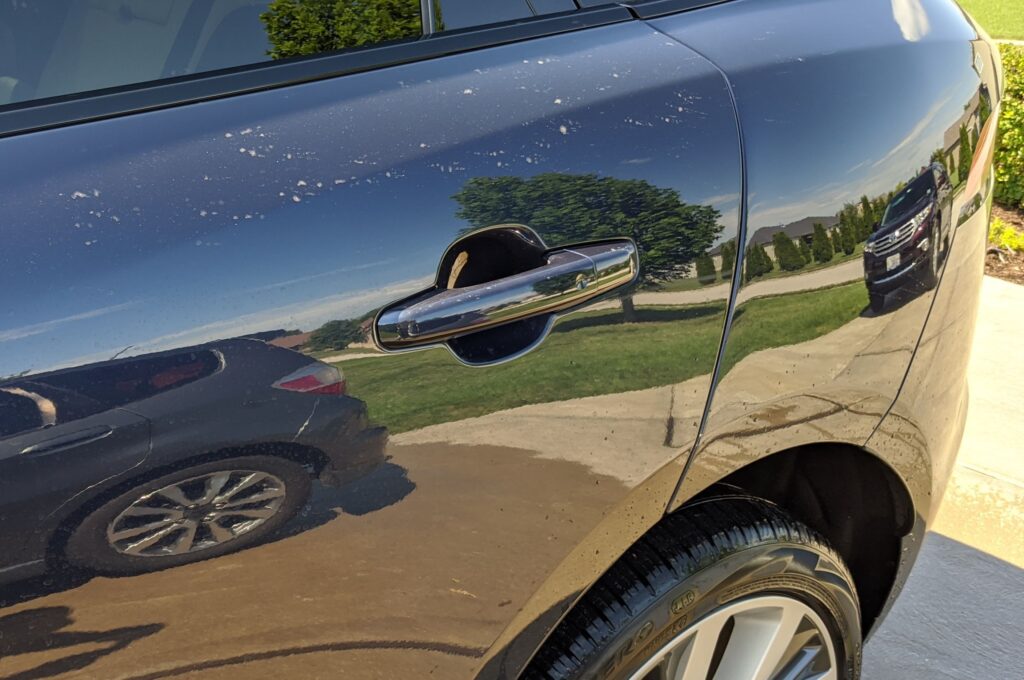
Once the wash is out of the way, it’s time to hit it with the clay bar.
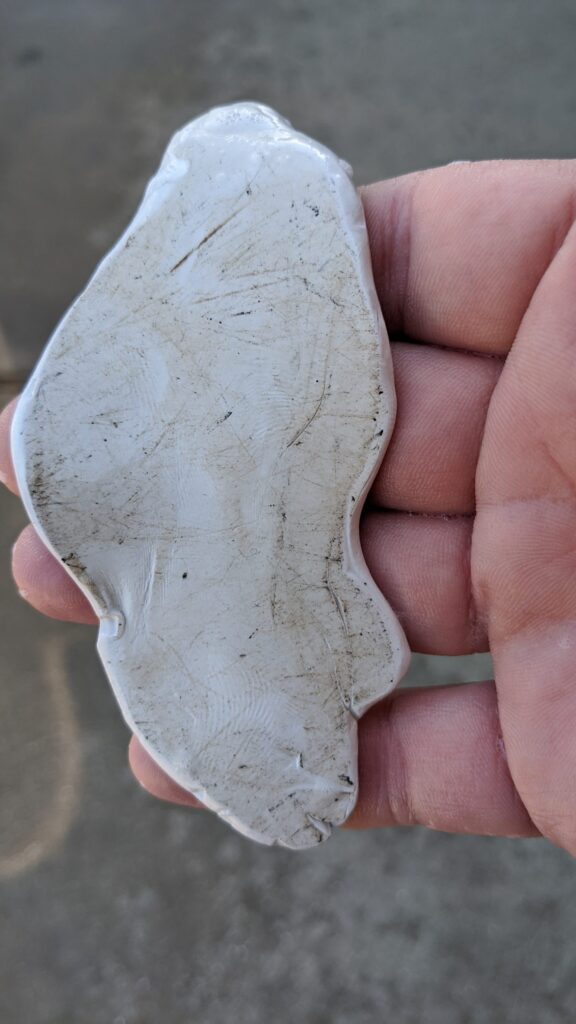
The clay bar shows visible signs of further deep cleaning on the typical areas: lower portions of the door panels, rocker panels, and the lower part of the rear hatch. Nothing too bad or surprising.
Step 2: Perfecting the Finish
With the washing and claying out of the way, it’s time to start polishing. Under the bring work lights it is easy to see my first assessment of the paint condition is still valid. The swirls you see in the picture below really aren’t as bad as they appear.
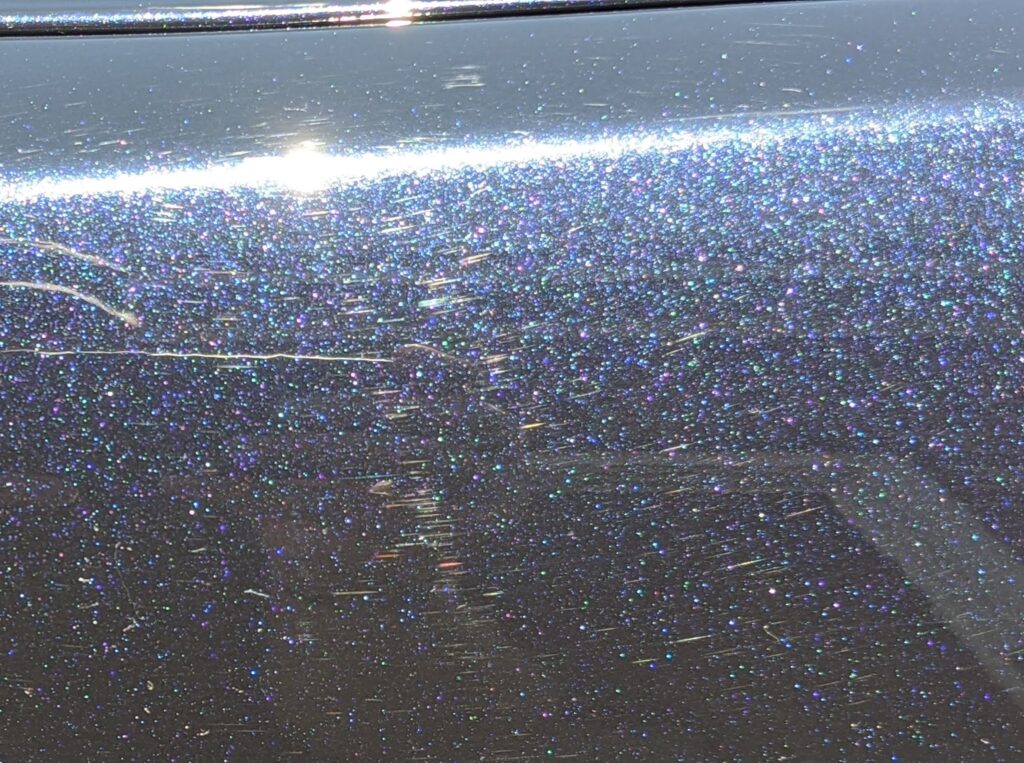
The Paint
A quick test spot with a white Lake Country ThinPro pad and DP Polish provided by Autogeek (previously used on the Cayenne job) earlier reveals the paint is pretty soft and easy to correct. Getting a good shine on this vehicle will not be difficult. In almost no time the door panel pictured above looks like this.
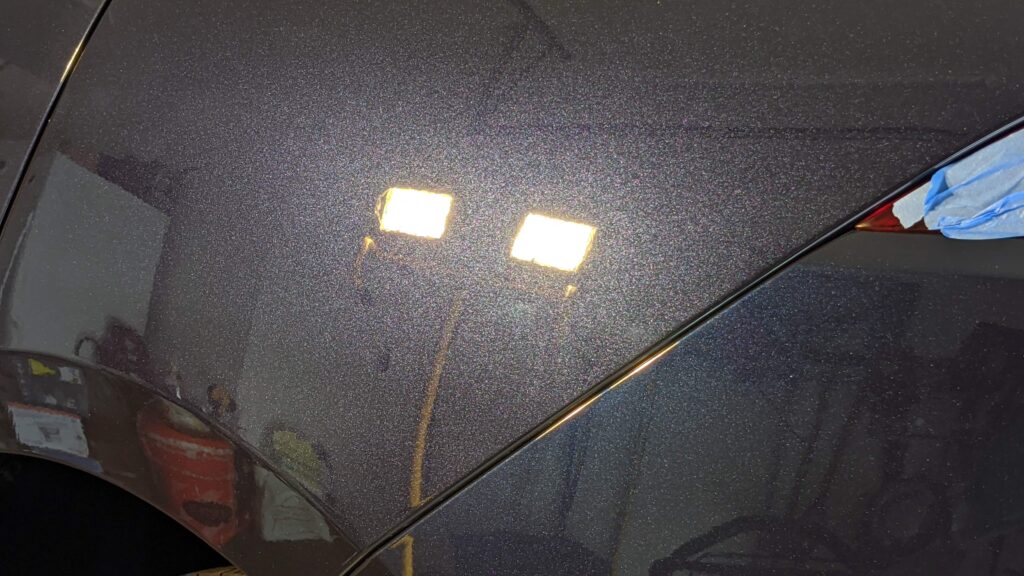
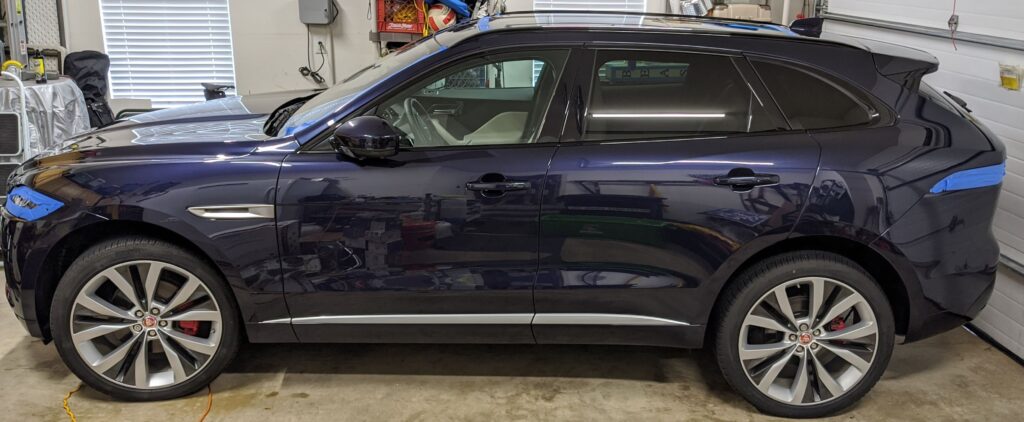
The F-Pace polishes out completely in only one step and the blue paint looks amazing.
Trim
One area many people may overlook or simply think cannot be fixed is the shiny “piano black” exterior trim on the B and C pillars. This trim appears to be painted and clear coated like the rest of the vehicle, but most of the time it’s actually a shiny plastic piece which snaps on the exterior surface of the frame pillar.
This plastic is very soft and scratches easily from washing or brushing off snow. Fortunately, since it is easy to scratch, it’s also very easy to correct! Here are “before” and “after” pictures showing the results of polishing the trim.
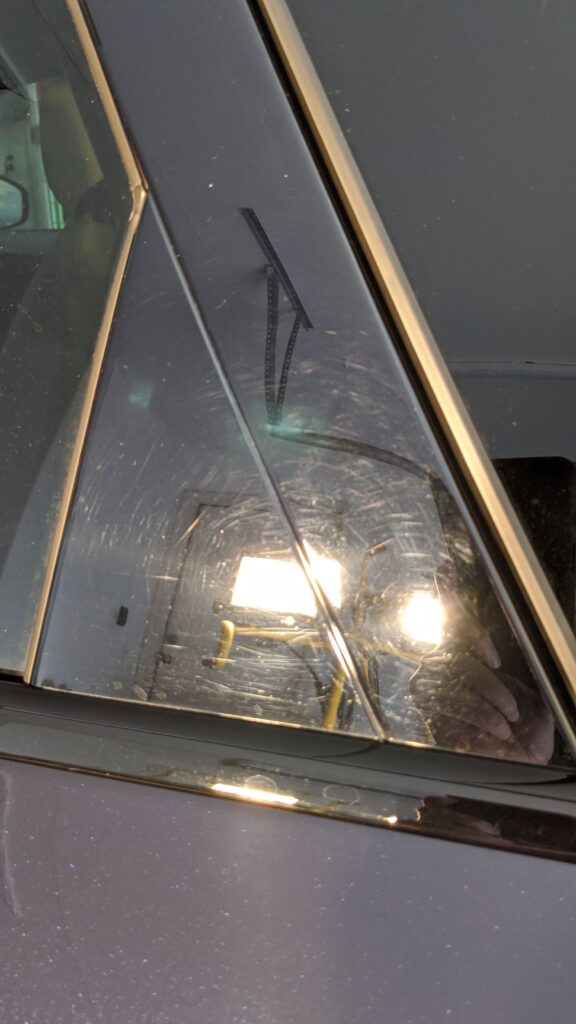
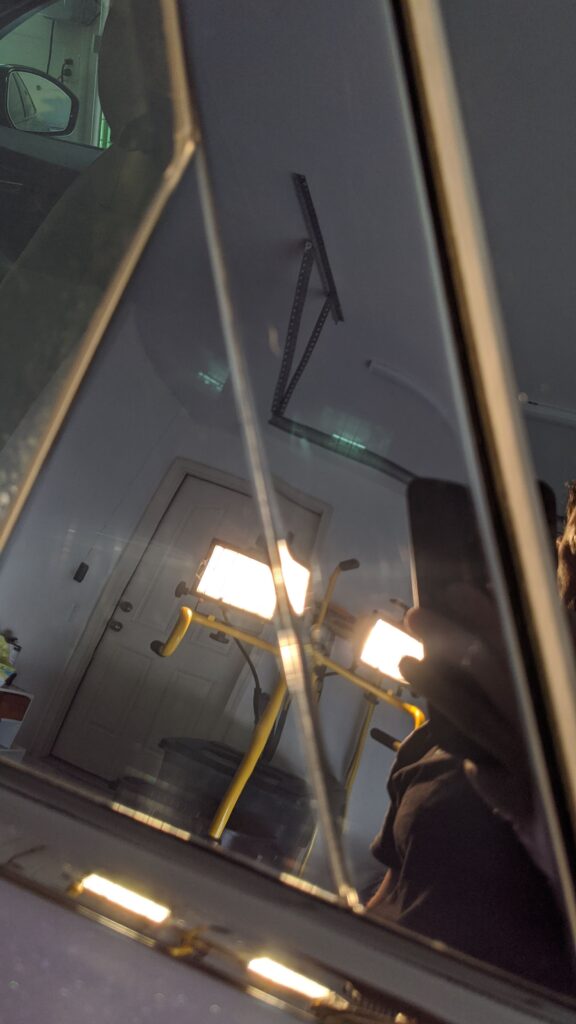
Polishing this trim is no different than the rest of the paint. I always use a polishing pad and a finishing polish. However, because the surface material is so soft, it only takes two or three passes to perfect the finish.
The Polish
I did a full review of DP’s polishes in the article about the 2017 Porsche Cayenne S, but this job provided another opportunity to gain more experience with the finishing polish.
Overall, my opinions have not changed. I still feel the DP Polish is a great product in its price range and creates a great shine. I still find the working time a bit shorter than I’d like and removal takes a little more effort that I’d like. However, I’m starting to think the working time and removal time may be influenced more by climate. Something I’ve not really noticed in other products. When work first started on the F-Pace, temperatures and humidity were unseasonably low and comfortable. However, towards the end of polishing the vehicle, it started to rain heavily. At that point I noticed the polish’s work time became much shorter and removal became much more difficult.
Tail Pipes
The F-Pace’s polished aluminum tailpipes are in pretty good shape, but still in need of being cleaned up. Here is how things looked at the start.
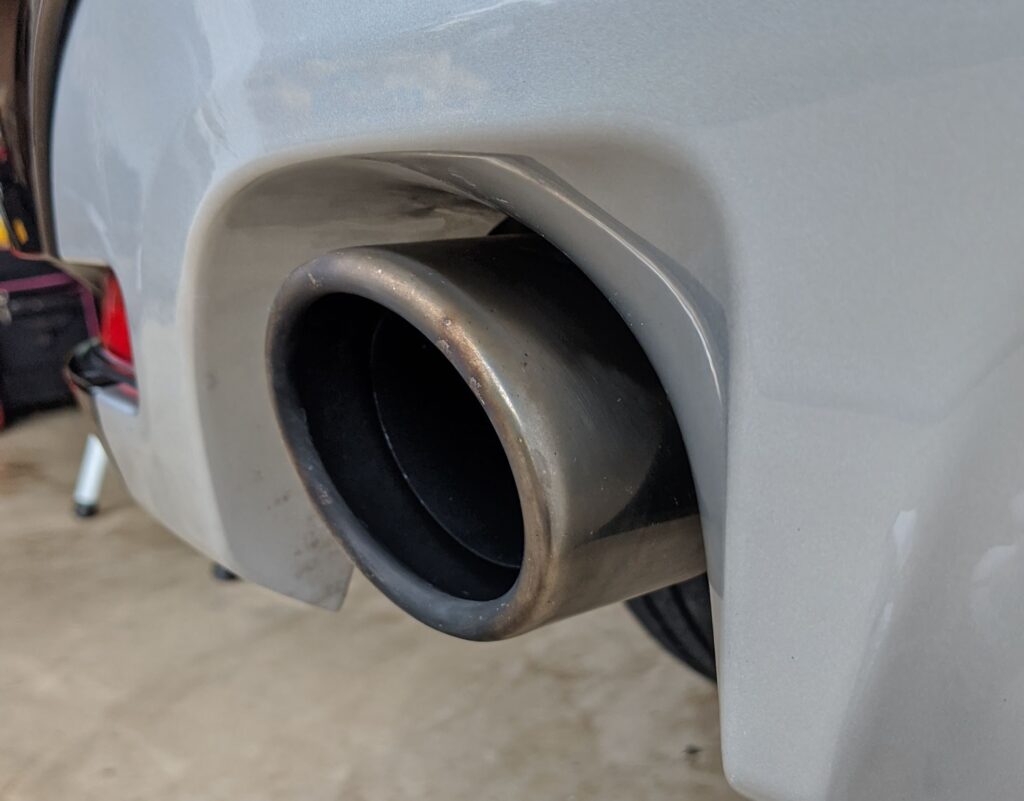
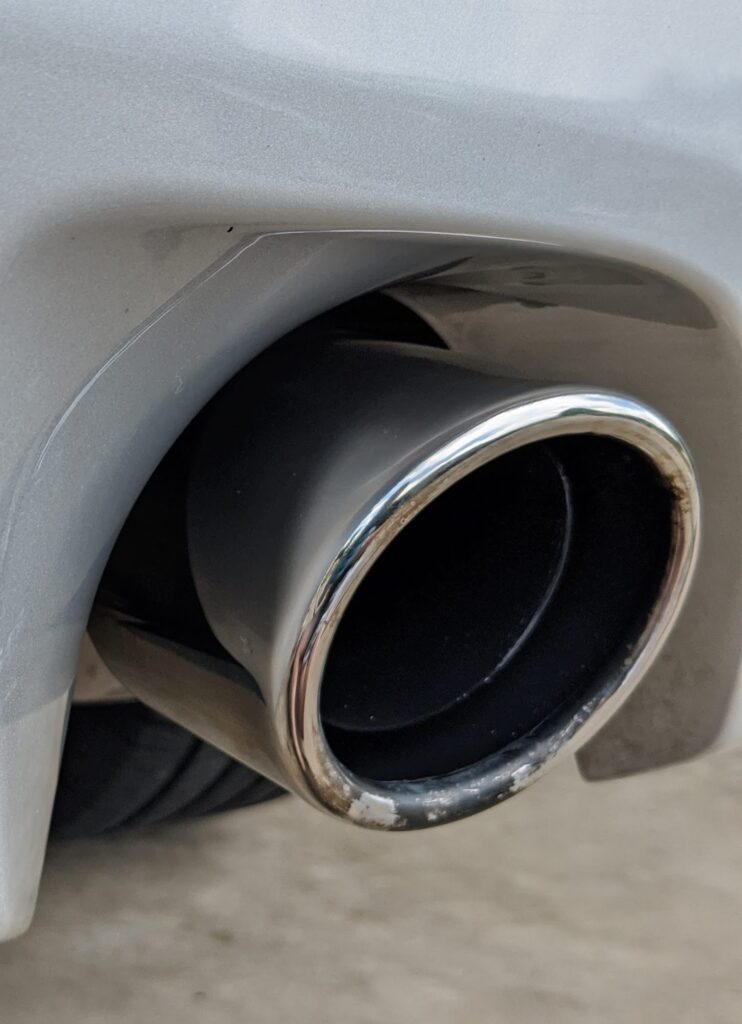
I start with 0000 steel wool and Mother’s Mag and Aluminum Polish. This combination always serves me well. It removes embedded grime, tarnish, and baked on exhaust soot. It may not be possible to fully remove all the hard, baked on soot, but the polish and steel wool typically will remove the majority of what has accumulated. After the metal polish, I follow up with Eagle One’s Nevr Dull. The Nevr Dull removes any fine marring left by the 0000 steel wool and adds a little extra shine.
Step 3: The coating and results
For this job I use CarPro’s CQuartz UK ceramic coating. I consistently apply it to all of my cars and even used it on a friend’ BMW. The product always delivers on protection, durability, and appearance. I cannot recommend it enough for anyone who’s looking at a ceramic coating for their vehicle.
Many people may not be familiar with ceramic coatings and a full discussion of them is an entire article in itself, but I’ll hit a few high points of why I use them.
Think of coatings like a sealant or wax, but with these advantages
- High durability. A wax will last a month or two and a quality sealant will last upwards of six months, but a coating from a reputable company like CarPro will last more than two years!
- Improved resistance to things like bug guts, bird bombs, and chemicals. Coatings aren’t bullet proof, but they are far more resistant things which could chemically etch paint and don’t degrade when faced with strong cleaners like bug and tar removers.
- Improved water behavior. We’re all familiar with the nice, big, fat water beads created by a well waxed car. A vehicle with a coating will see tiny water beads almost like little BB’s perched on the surface. This allows them run or blow off the car much easier. Water will also sheet, or shed right off the surface much easier than other products you might apply. This keeps the surface cleaner and easier to dry.
- Ease of cleaning. Dirt and grime will not adhear to coated surfaces as easily or quickly as those with a sealant or wax. This makes them easier to wash and less likely to create any swirl marks. From personal experience I’ve seen my dusty car almost completely rinsed clean by a hard spring rain.
Unfortunately, applying a coating doesn’t make for very good pictures on a dark colored car, so rather than bore everyone with a long description of the process we’ll just jump to the final glamour shots!
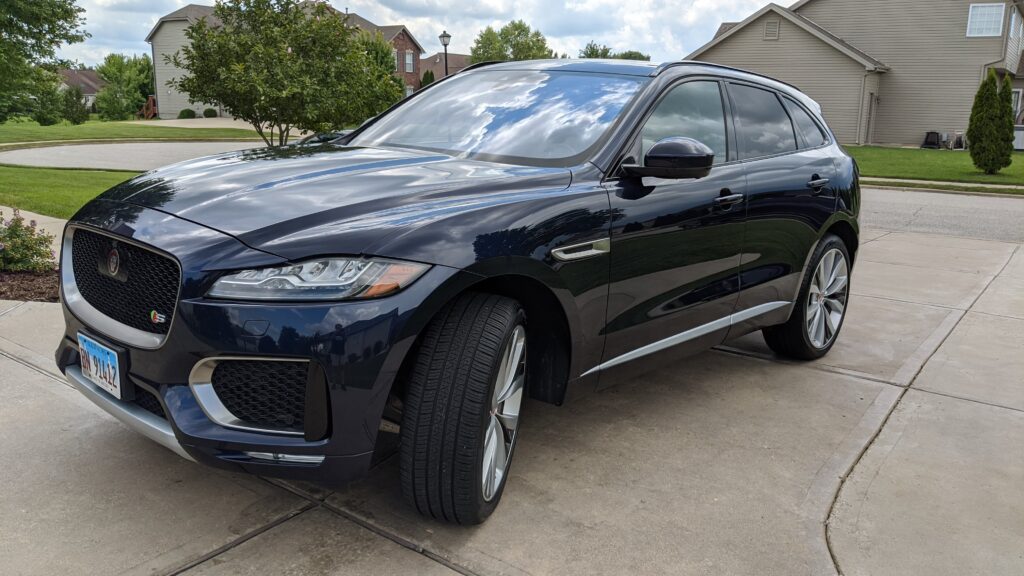
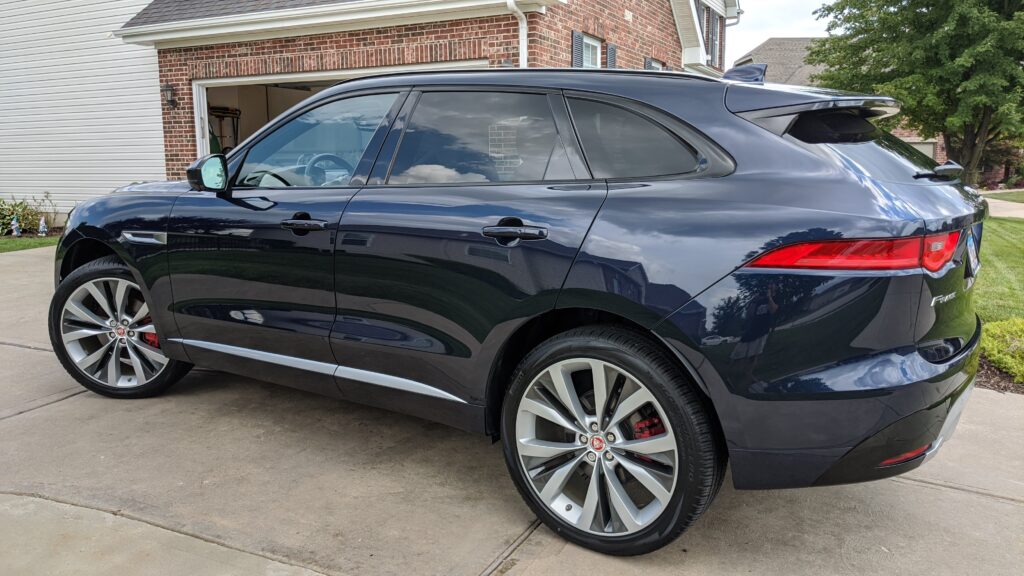
The last picture is my favorite and really highlights how all the work comes together for a great result. My only wish would have been for better lighting to really capture how beautiful the color. Still…I’m very happy with the results.
