Not long ago, my neighbor brought home a beautiful, black, 2017 Porsche Cayenne S. While admiring this beautiful vehicle and hearing the story of how it ended up in his driveway, the conversation turned to how he could keep it looking good. A few minutes later we agreed on a full exterior detail. I was really excited about the opportunity.
With everything arranged, I then contacted the good folks at Autogeek and pitched the idea of using this vehicle as a canvas to demo new products. I’ve been a regular participant and reviewer on their forums, not to mention a steady customer for many years and felt this was a great opportunity. They agreed, and in a few days a box full of products arrived. Everything was set!
This article will not only document the Cayenne’s transformation, but also include a review of several of the products provided by Autogeek. It will be longer most, but like the article I wrote last year about detailing my own vehicle, I hope you all enjoy seeing the work progress and learning about some new products you can use on your vehicle.
Starting Condition
When the Cayenne first came home, it was late evening under hazy skies. Not the best lighting conditions to evaluate the paint, but over all it looked pretty clean and well maintained. A few days later while setting up the exact day to do the work, we both noticed the black paint actually had metallic flake! This brought back memories of detailing another car I initially assumed to be a boring gray color, but turned out to be a very attractive silver metallic once fully polished out. We also noticed a few swirl marks, but I was now really intrigued and couldn’t wait to see how this beautiful Porsche would turn out.
Step 1: Washing
This Cayenne is a daily driver and several days of wet, rainy weather left it pretty dirty, but nothing a good wash and clay bar treatment wouldn’t fix.
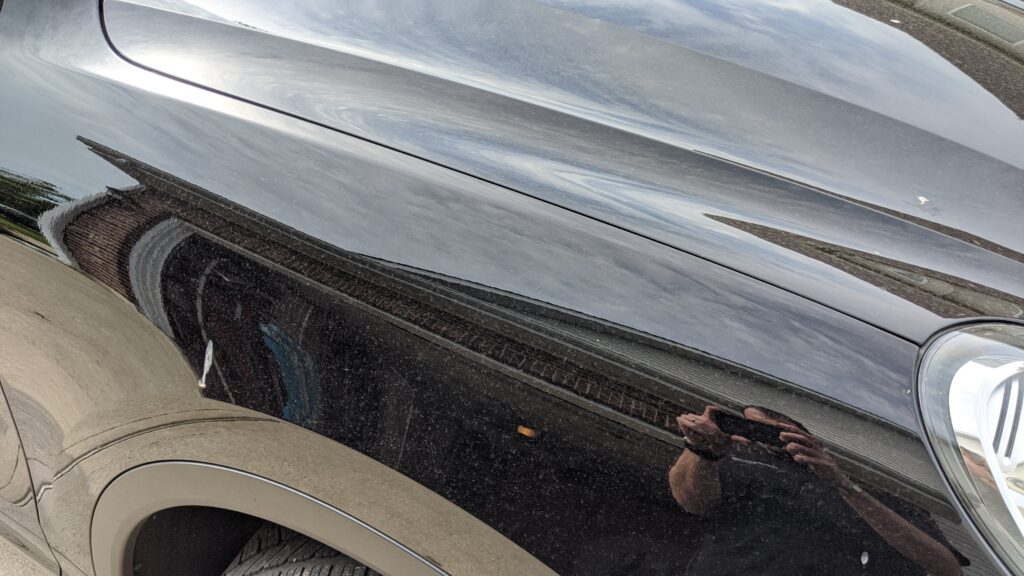
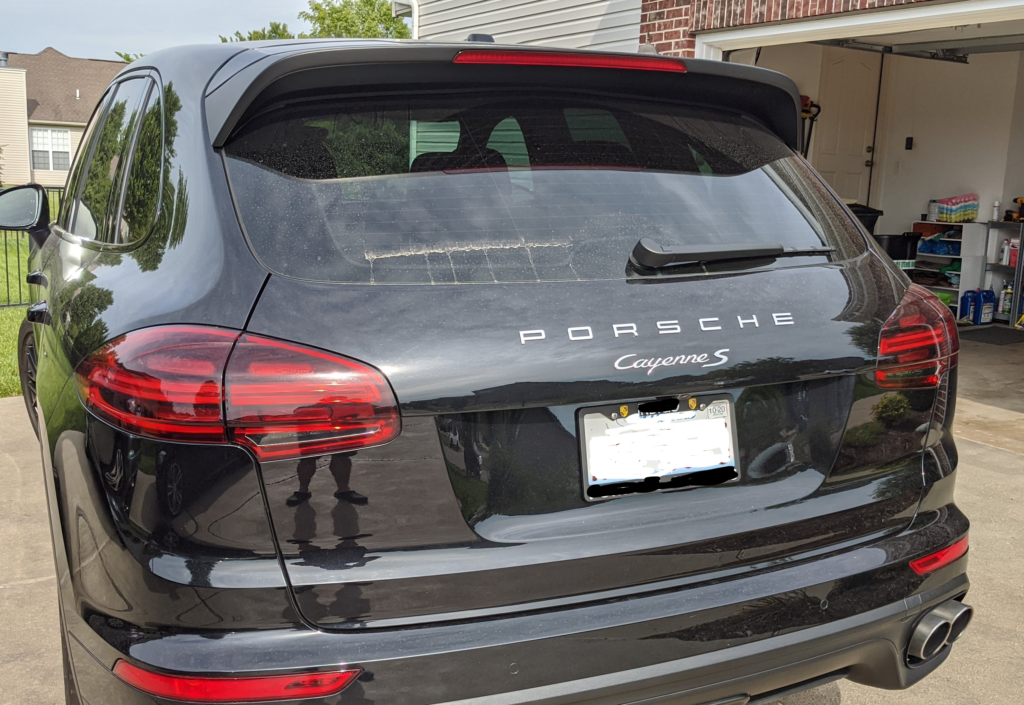
For the washing stage I start with Optimum’s Car Wash. This car wash continues to be my favorite. It cleans really well, rinses off easily, and leaves no glossing agents or waxes behind. After a good bath the Cayenne already looks better and is now ready for the next step: clay bar.
For those not familiar with detailing clay, it is very similar to the modeling clay you may have used in art class, only stickier. This step removes grime and particles of dirt embedded in the clear coat which leaves the surface feeling rough. Using a clay bar will leave the surface feeling much smoother and will actually brighten lighter colors. Unfortunately for the purpose of this article, the Porsche was maintained well enough nothing was visible on the clay to photograph, but I did notice the surface become much smoother.
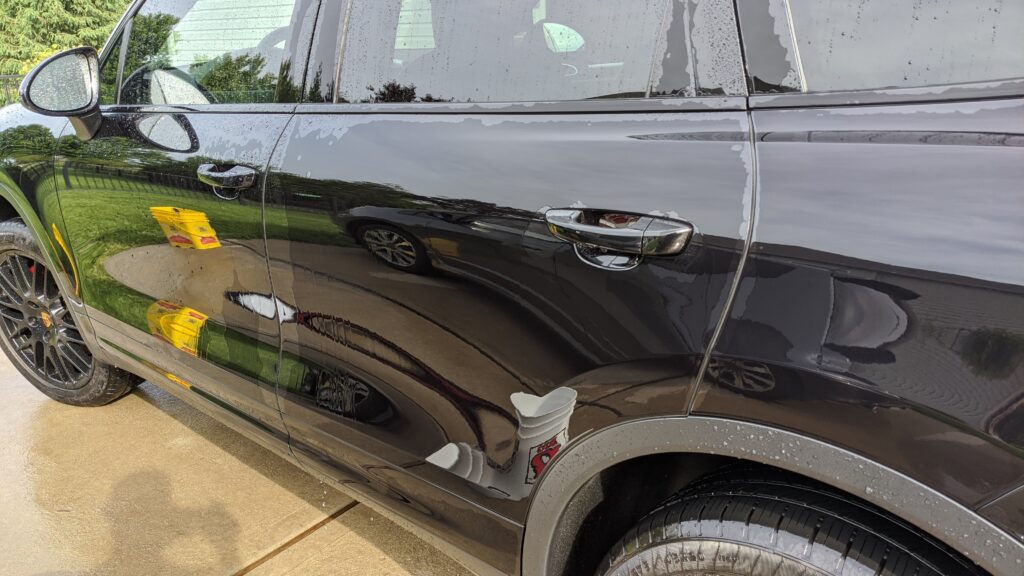
Once clean, the Cayenne is looking pretty good, but the water behavior shows a lack of any protection.
Step 2: Polishing
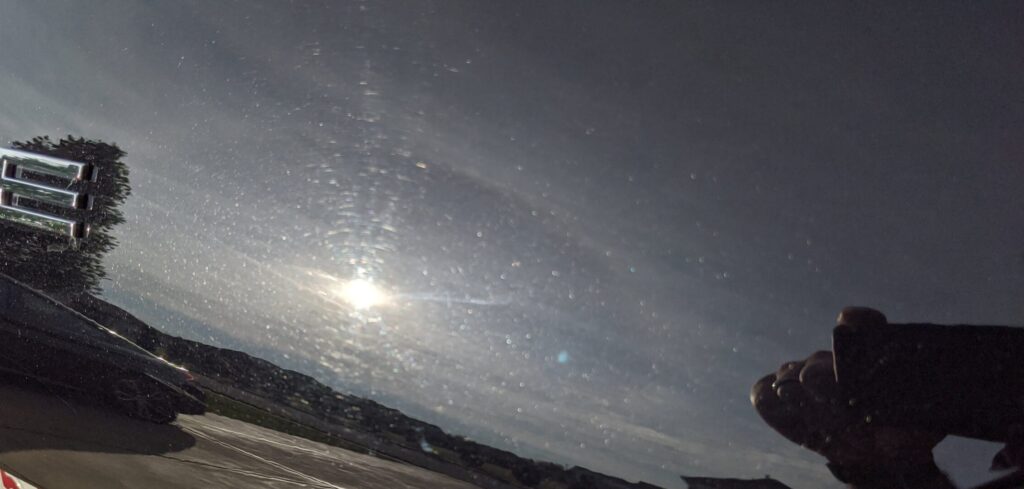
Before pulling the Porsche into my garage, I took a close look at the surface. Work lights are great for seeing swirls and scratches in specific areas, but nothing beats bright sunlight for assessing larger areas and seeing the true condition of the paint. In bright sunlight I was able to see more swirls than previously realized. This area of the tailgate is a good example.
Removing Scratches and Swirls
Work lights provide a different perspective of the swirls and scratches needing removal.
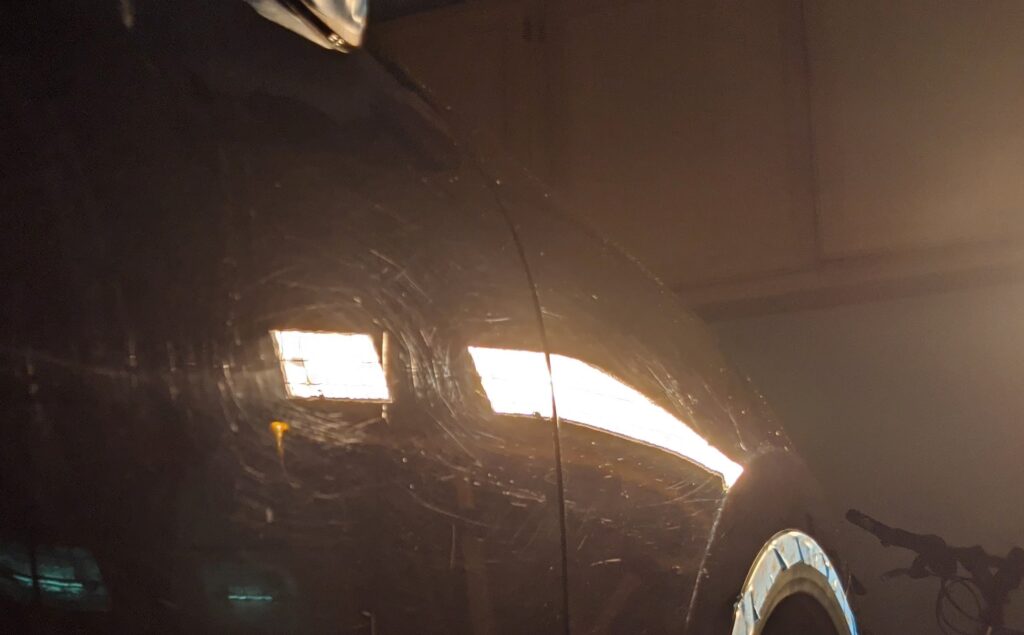
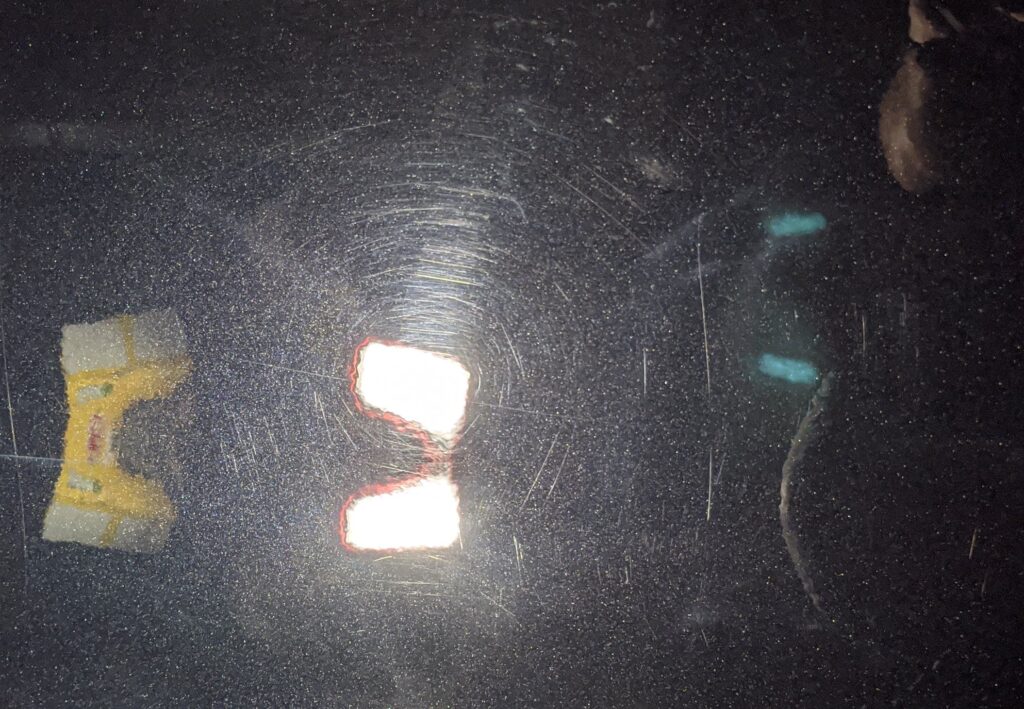
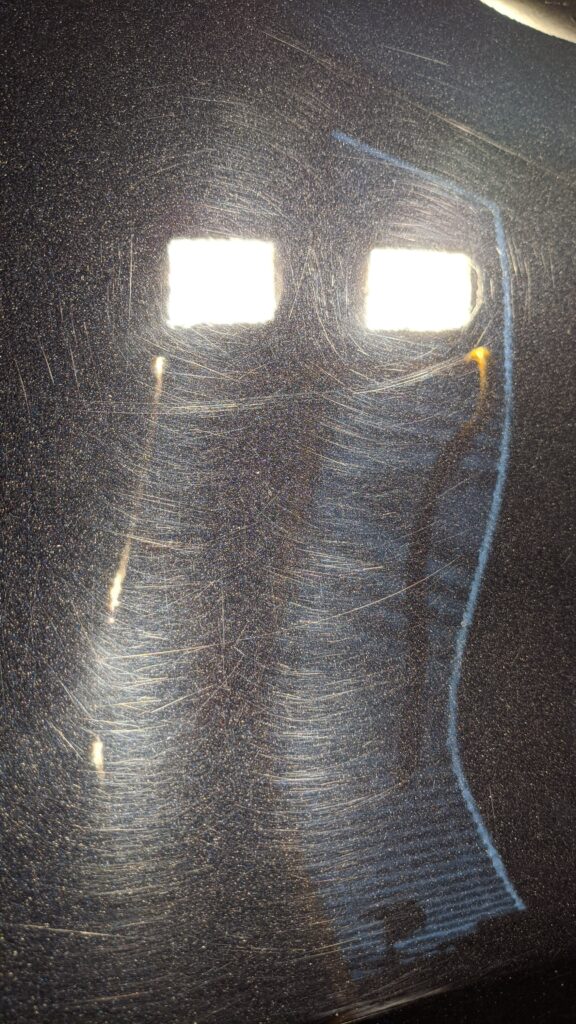
This damage is common to what an automated car washes with the spinning brushes and cloth strips will inflict on a car. While those types of car washes may be common, inexpensive, and a fast way to get most of the dirt off a vehicle, they take a heavy toll and make it look dull and lifeless.
The key to getting the best results is test spots with different combinations of polishing liquids and pads. Since I’ve never worked on this vehicle, I started with a polish and Lake Country’s white Thin Pro pad. This didn’t correct much, so I moved on to a compound and the white pad; my go-to combination for polishing out most vehicles with hard paint. Again, I was not happy with the lack of correction. I then attacked the area with the most aggressive combination in my arsenal: an orange Thin Pro pad and a compound. The good news is this combination provided good correction. The bad news is this approach forces me to take two polishing steps and twice the amount of work. More on that in a minute, but below is an known as a 50/50 picture to show what will be possible.
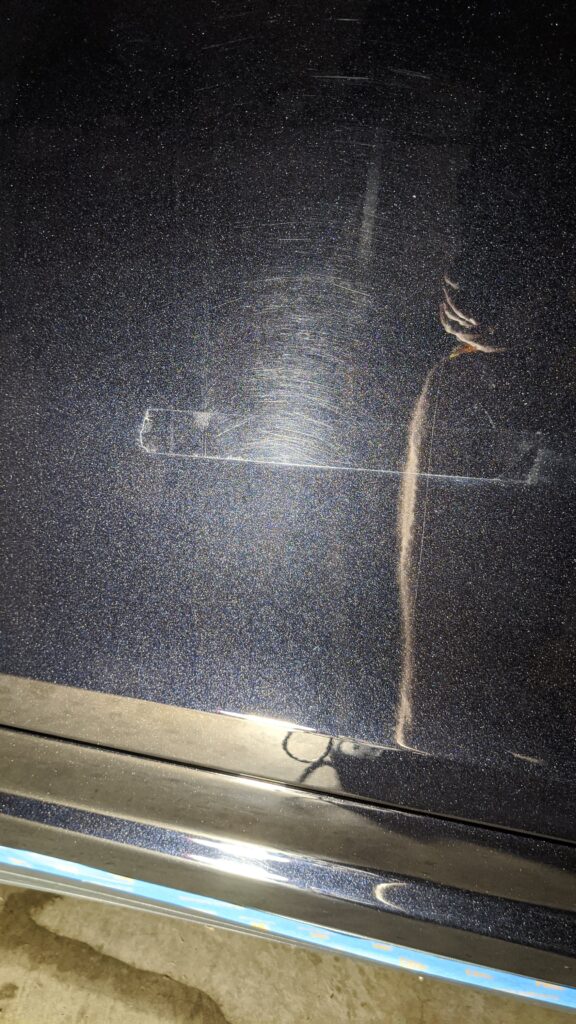
With a process and a product plan in place it was time to attack this vehicle and make it shine. A quality compound and an aggressive pad are capable of removing fairly serious defects, but it leaves the surface a little cloudy or hazy. This “compounding haze” is similar to what you encounter when polishing other hard objects or sanding wood. A heavy grit sand paper or polish will remove defects, but leaves the surface rough. A finer polish or sandpaper will refine the finish. Vehicle paint is no different. In the past I’ve encountered situations where a polish made a compounded surface look better, but differences were slight. On this Porsche, I actually captured a great example of compounding haze and the improvement made when following up with a polish.
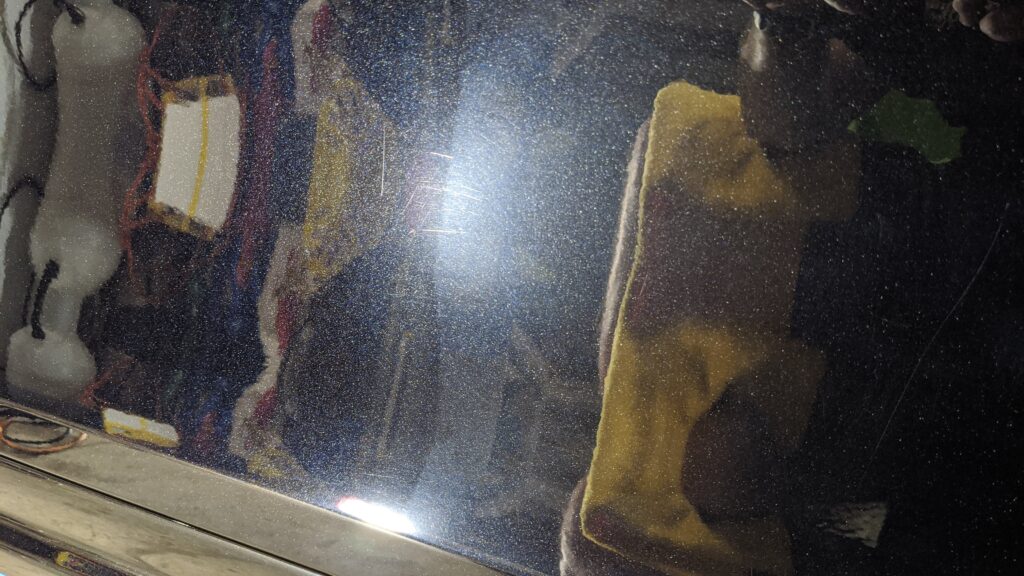
The left side of this picture is a portion of the door after using both a compound and a polish. The right side of the door shows just the work performed by the compound and the resulting haze. A few scratches are visible in the bright lights, but they are deep enough it is not worth compromising the clear coat of the vehicle to attempt any further correction.
Below are a few more before and after pictures.
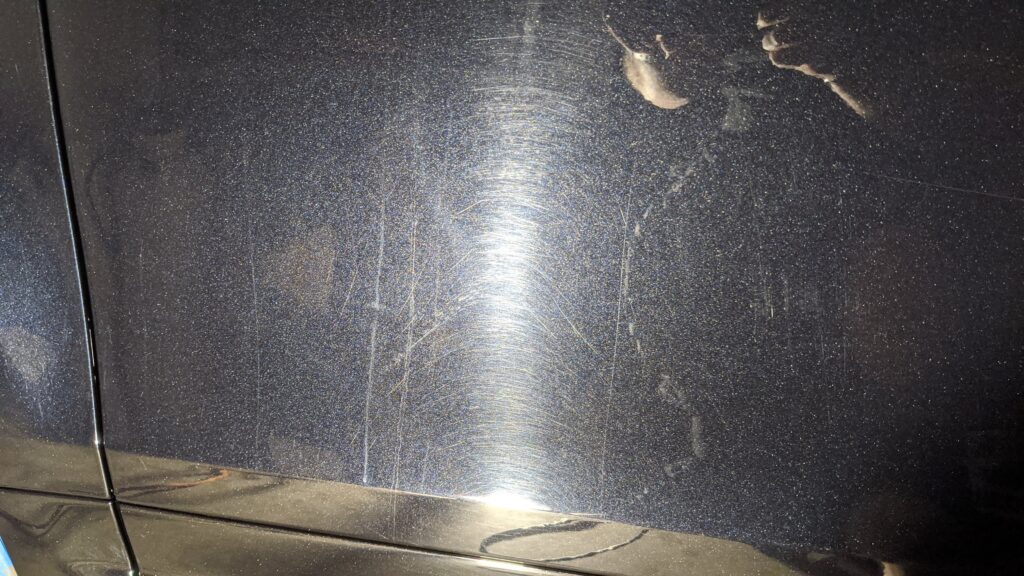
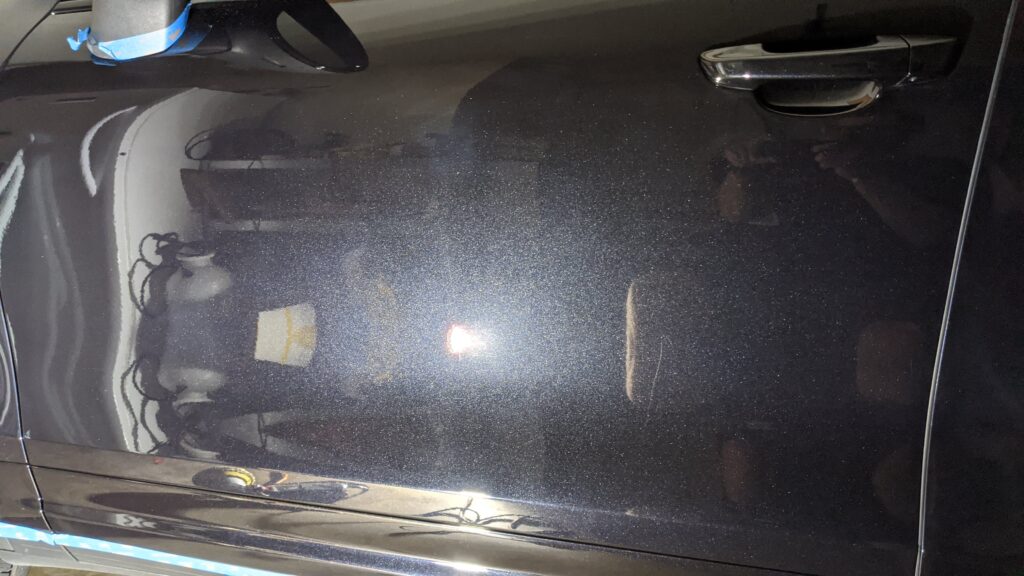
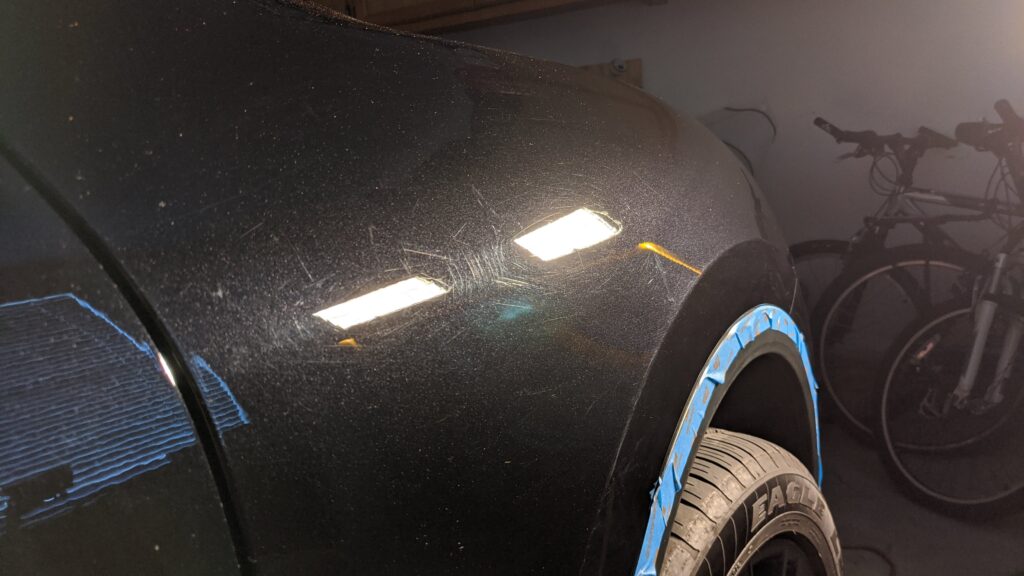
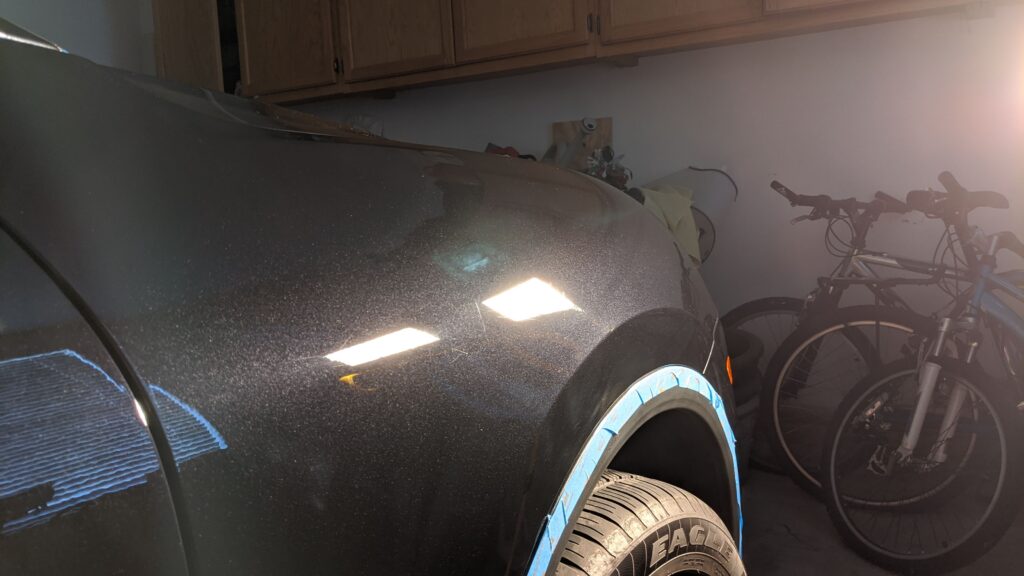
The whole vehicle looks much better. Now let’s take a look at the polishing products I used for this job.
The Polishes.
The results seen in the above pictures are thanks to the Compound and polish from Autogeek’s newly revived DP Detailing Products line.
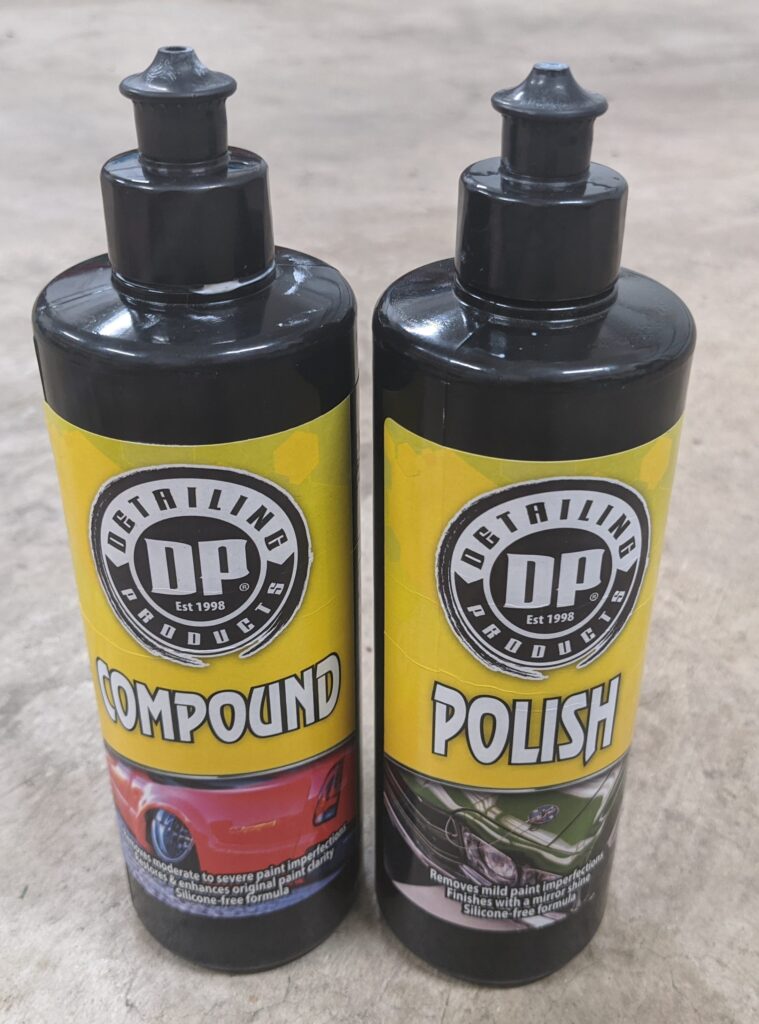
Very hard, black, metallic paint on this Porsche provides the perfect opportunity to test polishing liquids to their limits. High temperatures and humidity in my garage added an additional environmental layer of difficulty.
From the very start there are a couple things I like about the DP Polishes. First is the bottles. They are a good size which are easy to hold and the nozzles built into the lid make it very easy to apply product. Second is the white color of the product. This might not seem like a big deal, but products with any type of color stain the pads. When a white pad is stained, it makes it much harder to tell whether it’s properly cleaned after use.
Compound
I’ll start with what I didn’t like about the compound and finish on a positive note because this is a good product overall.
On this Cayenne’s hard paint I found myself wanting the compound to provide more cut. Paired with a rather aggressive pad, I still ran the polisher on it’s highest setting and several areas required multiple attempts to get the right amount of correction. The working time of the compound also seemed a little short. Some polishes and compounds with a lighter cut make up for it by allowing you to work an area for a longer time without stopping. This compound, in a hot, humid garage only lasts about five section passes before it dusts, gets gummy, and becomes hard to remove. Other compounds, like the one offered by Blackfire, will easily last eight or more passes, even in hot conditions.
Now for the positives. On lightly swirled paint, I was able to pair it with a less aggressive pad and get a really glossy surface in only one step and no need to follow up with a polish. I really think this compound will serve anyone with soft or even moderate hard paint quite nicely. Another positive is it isn’t oily. This is a big deal for me. I really hate hard to remove polishes that leave oily smears.
Overall, I liked this compound and based on the other products I’ve used in the past I’d put it ahead of Meguiar’s Ultimate Compound, but behind Blackfire’s Compound. Based on price it is significantly cheaper than the Blackfire products and will be a great addition to the inventory of any budget conscious detailer.
Polish
I have a lot less to write about the polish because, quite frankly I really liked it. DP Polish is a real gem.
As you see in all the photos, it finishes out really nicely and creates a high level of shine. It is really fun to work the polish on an area and see it really bring out a high level of gloss. Removal is far easier than the compound as well. Working time in a hot environment is better than the compound as well, but still not quite as long as other products on the market like Optimum Hyper Polish or Sonax 04-06.
There really isn’t much more to say. The DP Polish finishes out great and also comes in at a great price point. I’m happy to have this product in my garage.
Step 3: Protection
Many people think a “wax” is what makes a car really shiny. In reality, polishing out the paint is where you get the best results in getting a vehicle looking it’s best. However, a good wax, sealant, or coating will add a little something extra to well polished surface and really bring out the shine. Think of it as icing on a really good cake!
Unlike the polishing steps, there really isn’t much to talk about when it comes to applying a sealant. The key to getting the best results from any modern sealant or wax is to apply it even and thin. Most products shouldn’t be applied really thik and will go much further than you realize. Applying it too think only makes it harder to remove. I actually use a very soft, black, Lake Country Flat Pad on my polisher to quickly apply a nice thin coat of sealant evenly across an entire vehicle. I was able to cover the entire Cayenne in only about 20 minutes. Here is a view of a portion of the hood after application.
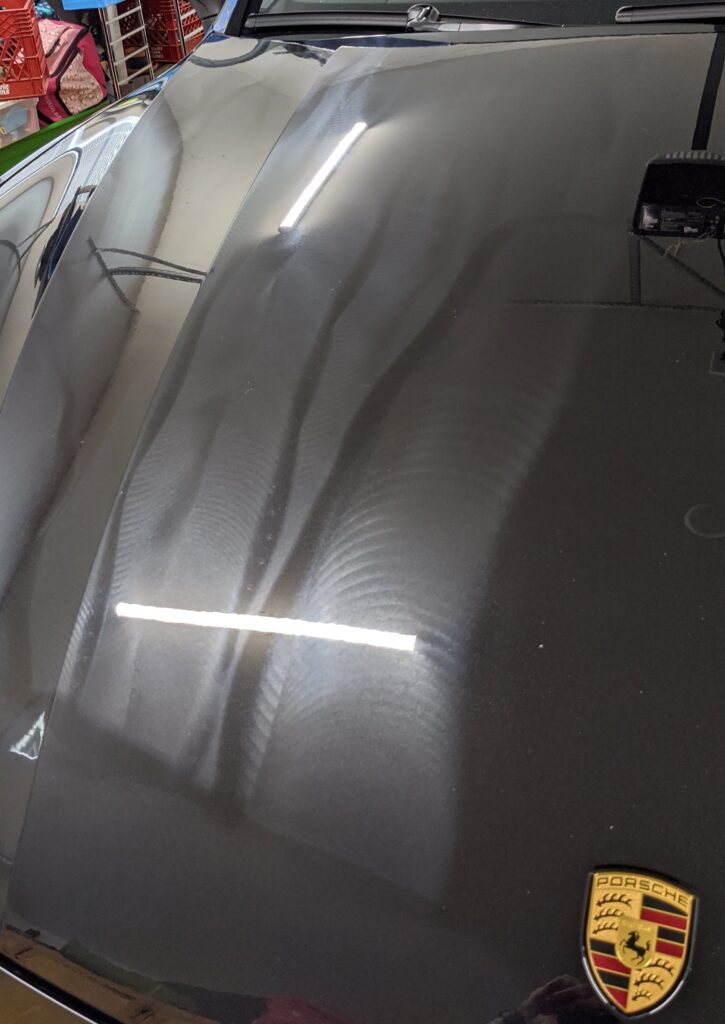
A soft foam Meguiar’s applicator pad is the best way to apply sealant to smaller areas like the front and rear bumpers. Fortunately, the Cayenne design is very clean with a flowing shape and there were not many areas needing a hand application.
The Sealant
For this project I had the privileged to test out Wolfgang’s SiO2 Paint Sealant, the newest sealant in the Wolfgang line.
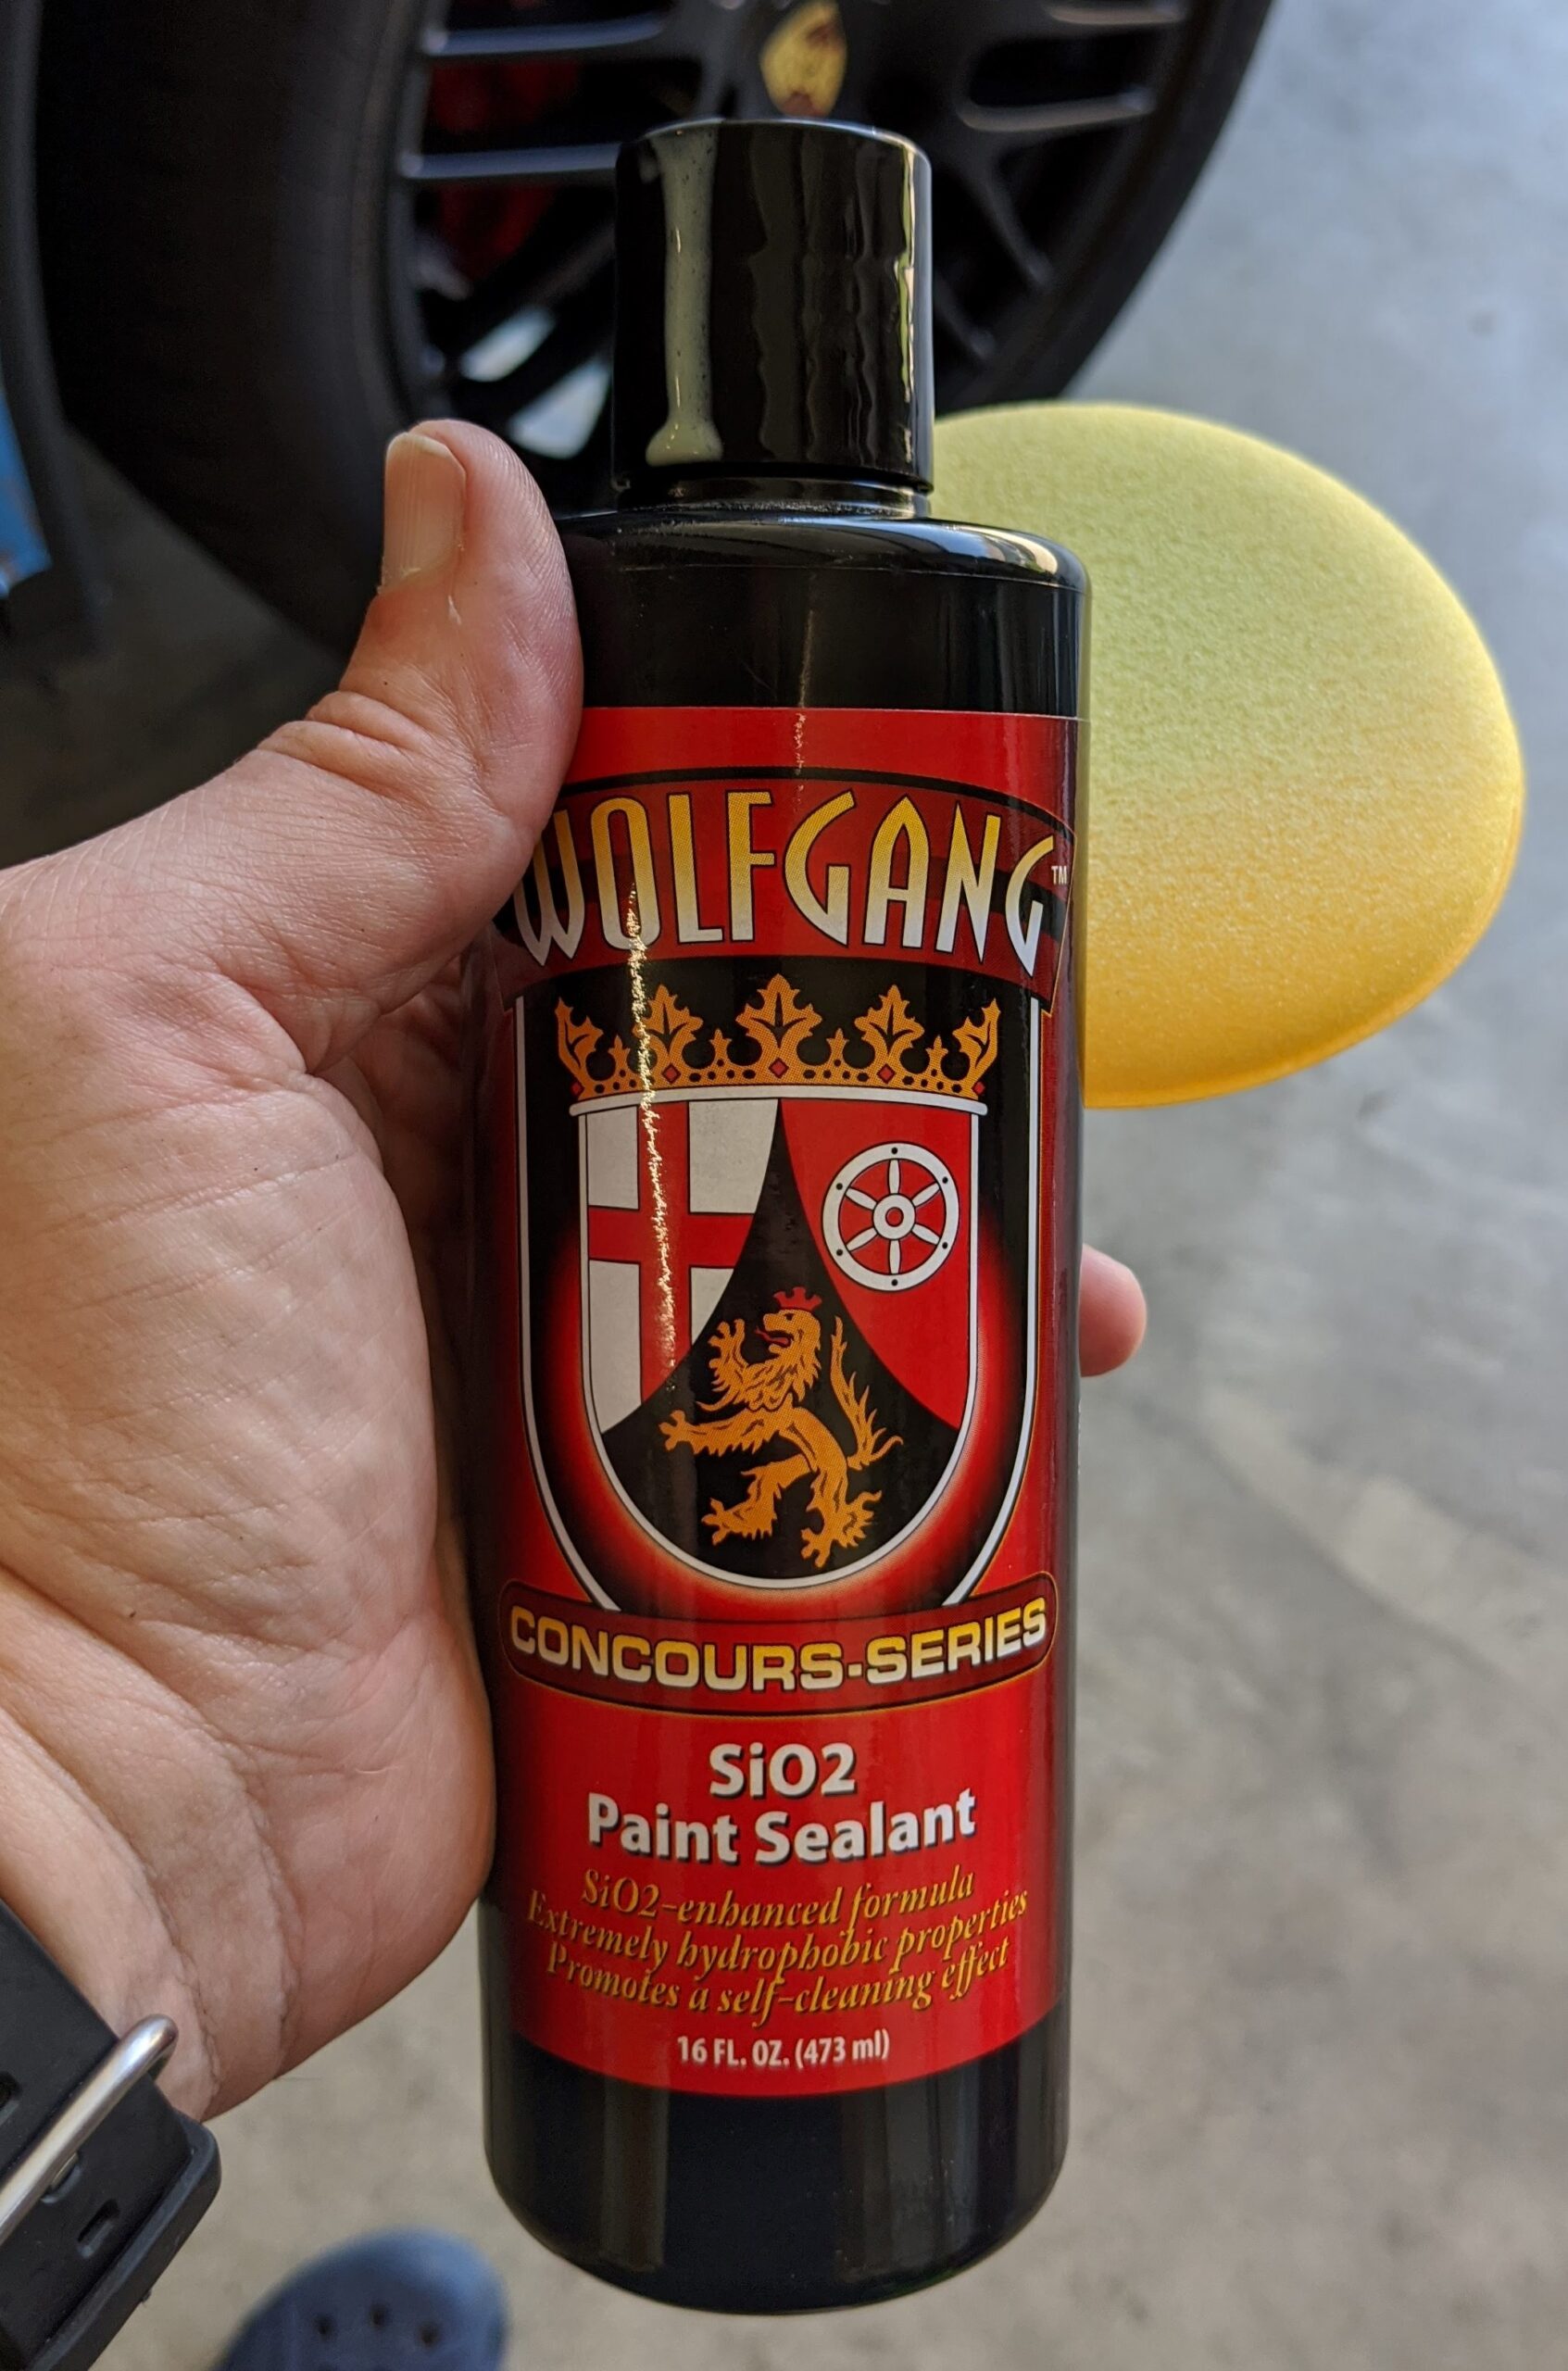
For years I’ve listened to people rave about an older product from this brand, Wolfgang’s Deep Gloss Paint Sealant. I never tried it out because, well…I’m a bit cheap. I used other reputable, less costly sealants, but now it’s plainly obvious I’ve really missed out, because if the older product is as good as this new one, it too is amazing.
Applying the sealant is a breeze. Whether by hand or with the polisher, it spreads easily without any drama. Removal is where I was really blown away and I’m pretty certain I reflexively muttered something out loud. Other sealants I’ve applied required some effort to remove and buff out. This work is typically done by hand, so I psyched myself up for quite a bit of work to remove the excess sealant from this Cayenne.
Turns out, this sealant is the easiest product I’ve ever removed. It was nearly effortless. A light swipe of a soft microfiber towel was all it took to remove any excess residue. Buffing out the entire vehicle only took around 20 minutes, less than half what I expected. I did learn one lesson: the product information states the sealant should sit for 20 minutes before being removed. Due to high humidity, I found I had to extend that window to around 30 minutes. Not a big deal. Try to remove it too early and it’s a little sticky.
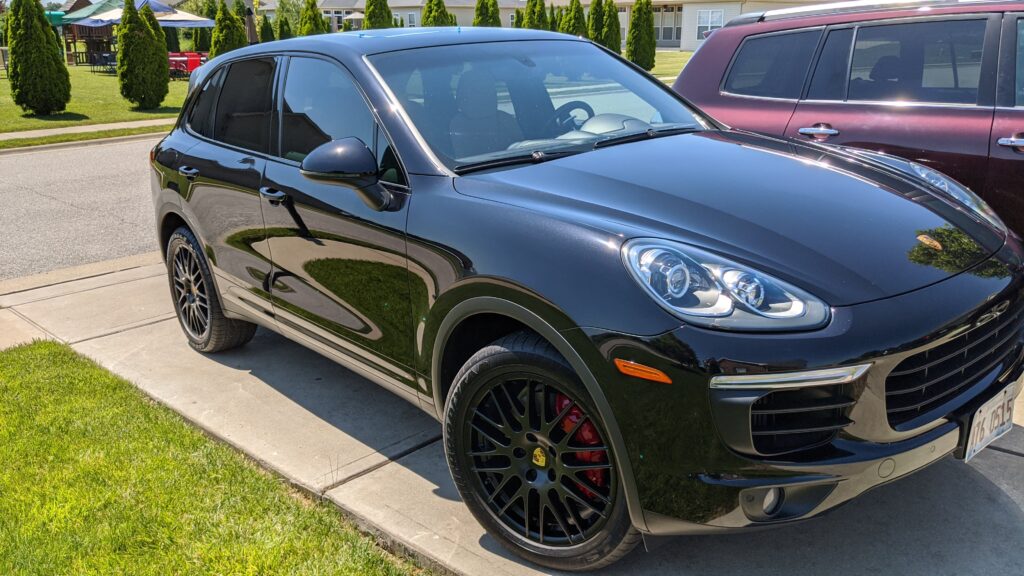
With the sealant buffing complete it was time to pull the Porsche out of my garage and into the sun. I’ll let the following pictures speak for themselves. Needless to say I was seriously impressed! The shine is amazing and it is really slick to the touch.
Results
Well…what can I say. I’m really happy with how everything turned out.
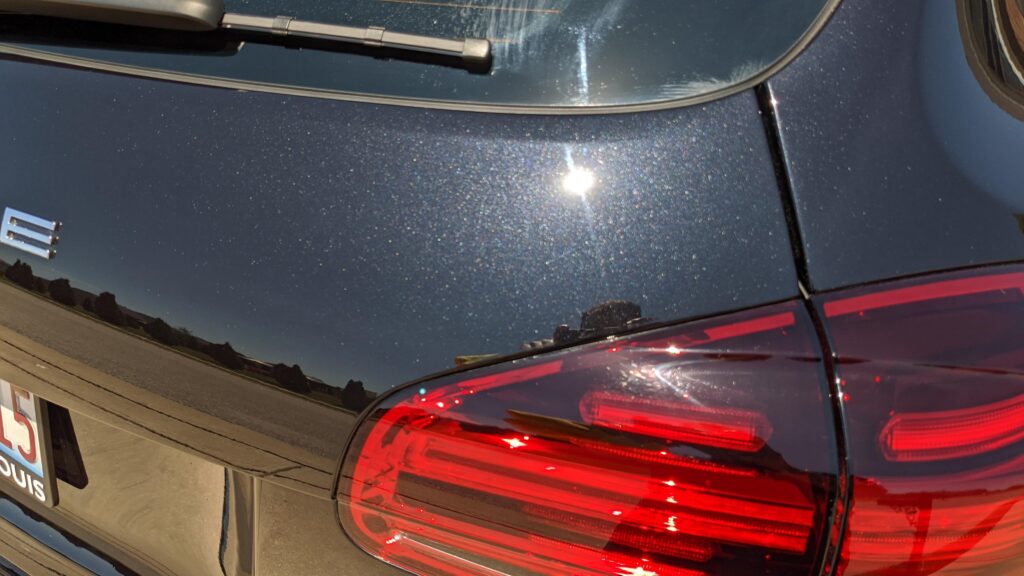
Remember that picture of the tailgate with all of the swirls and the metallic flake looking a little dull? I can safely say it looks much better now. Look at how the metal flake pops!
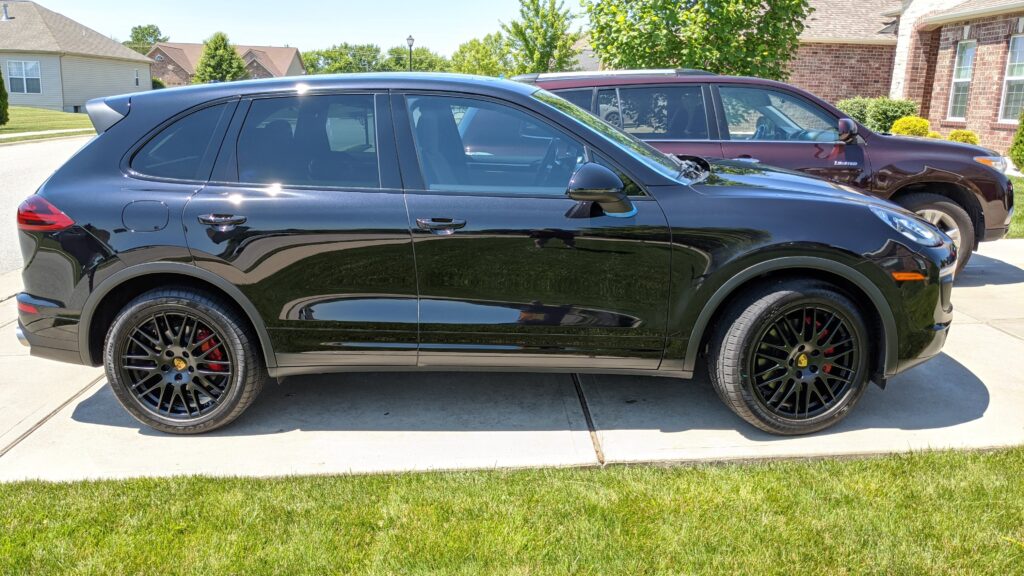
My neighbor was really pleased with the end result and I am too. This Cayenne S is a beautiful vehicle and now the paint is in great shape it really turns heads! Mission accomplished.
One last picture of this great looking Porsche.
That’s beautiful! Black cars are always fun to work on. Not so much fun to own and try to keep clean (says the guy who once had 4 black cars at the same time 😱) but a clean, well done black car is truly a thing of beauty.
Looking forward to updates on the SiO2 sealant. 👍
Thanks! Black is a bit of a challenge, but worth it. I’m glad I only own one. I couldn’t imagine four!
Car Geek – Excellent job! The car looks amazing! Thank you so much!
I’d also like to thank Autogeek for providing the materials!
It did turn out great! Thanks for letting me work on it.
You are a pretty great neighbor 😀!